HTML Images and Video
This tutorial is part of a web programming course for people who have no programming experience.
We have already added an image to a page in a previous lesson, now will dig a litte deeper into displaying various types of media content in a web page. To review, you can show an image in a web page by adding an img element and setting the src attribute to a path that links to the image. Here is the code that is similar to what we wrote back in the second lesson:
<img src="../images/eagle.png" />Remember that img elements are self-closing, which means that there is an opening tag, but no closing tag (also remember that self-closing tags cannot contain any child elements). The forward slash in the above code sample is optional (it was once mandatory, but since the release of HTML 5 the forward slash for self-closing tags is no longer required - there's some fun syntax history:). I like to include the forward slash for beginners because it's a reminder that the element is self-closing (I imagine that if weren't aware of whether img elements are self-closing, then you might start looking down the page for it's partner closing tag).
Attributes That Can Be Applied To Img Elements
You have already learned that the src attribute is required for an img element because it indicates the path to the image to be displayed.
Another attribute that you should always add to an img element is the alt attribute. Setting the alt attribute to the proper value is extremly important for a few reasons. First, if for some reason, the image cannot be displayed, then the value of the alt attribute will appear in it's place, which at least gives your visiters and idea of what they should be seeing. Second, the value of the alt attribute gives information to search engines, they use this information in their search results algorithms. Finally, and maybe most importantly, the alt attribute is used by screen reader software, which is software created so that visually impaired people can surf the net. Screen reader software analyzes the content on a page reads it aloud using text-to-speech technology.
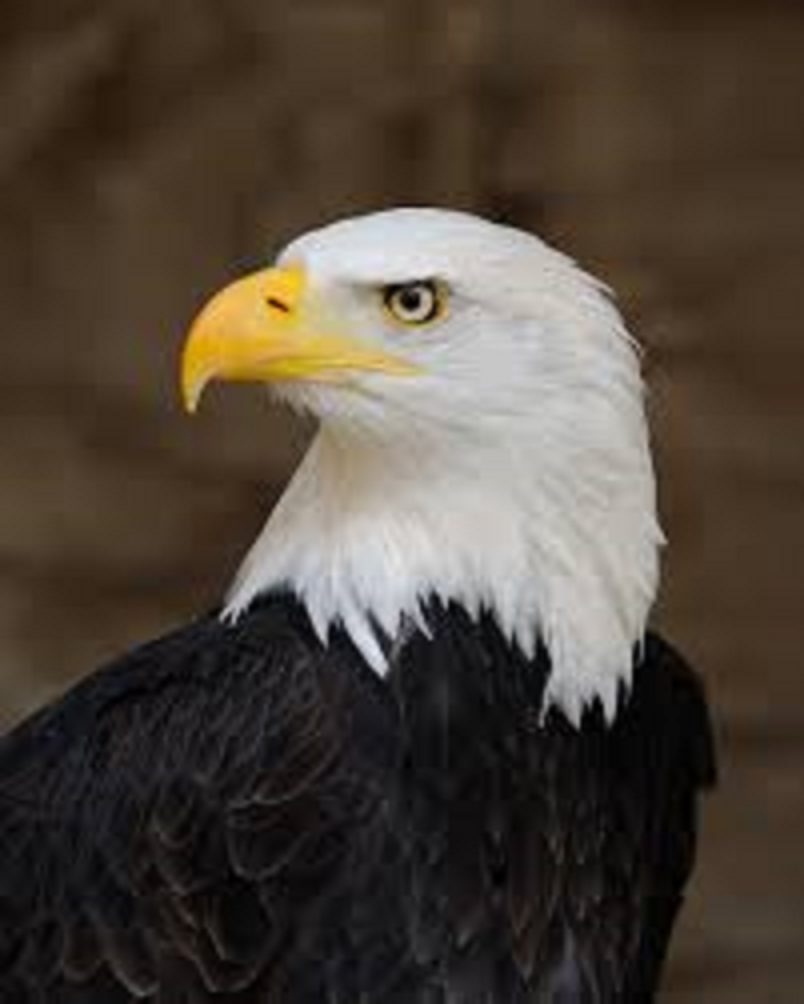
<img src="../images/eagle.png" alt="A bald eagle" />You can also add a width attribute to an img element. This allows you to control the size of the image.
<img src="../images/eagle.png" alt="A bald eagle" width="300" />In this case the width of the image will be 300 pixels. Pixels is the default unit of measure for an img element, but you could specify a per cent value like this:
<img src="../images/eagle.png" alt="A bald eagle" width="50%" />This indicates that the image should be display at a width that is 50% of the width of it's parent element. So if the img element was nested inside of an element that had a width of 400 pixels, it would calculate to 200px.
 Using a combination of pixels and percentages, and a few other HTML and CSS tricks that we'll explore later, you can make your images fluid, which means that they will stretch or shrink to adapt to the screen size of the device being used to visit your web page.
The image of the eagle here is using a few of these tricks, and if you resize your browser window to a small width you'll see how the image responds by using a per cent width.
So as the width of the browser window changes (at smaller widths), the image size shrinks and grows accordingly.
One of the great challenges of web programming over the recent years has been making your site look great on every possible devices.
With the explosion of smart phones and tablets, people may be visiting your web pages on an endless variety of devices with different screens sizes.
Using a combination of pixels and percentages, and a few other HTML and CSS tricks that we'll explore later, you can make your images fluid, which means that they will stretch or shrink to adapt to the screen size of the device being used to visit your web page.
The image of the eagle here is using a few of these tricks, and if you resize your browser window to a small width you'll see how the image responds by using a per cent width.
So as the width of the browser window changes (at smaller widths), the image size shrinks and grows accordingly.
One of the great challenges of web programming over the recent years has been making your site look great on every possible devices.
With the explosion of smart phones and tablets, people may be visiting your web pages on an endless variety of devices with different screens sizes.
Making An Image A Link Button
A common technique is to make images clickable links. You can do this by nesting an img element inside an a element like so:
<a href="hobbies/bird-watching.html">
    <img src="../images/eagle.png" alt="A bald eagle" width="50%" />
</a>
For the sake of mentioning some programming parlance, we could say that we 'wrapped' an a element around the img element.
Embedding A YouTube Video In A Web Page
If you want to display videos on your web pages, a great technique to do so is to post the video on YouTube and then use an iframe element to embed the video in your page. You can actually use a feature on YouTube to generate the HTML code for you, as shown in the video above. Here is a review of the steps we took in the video:
- Go to YouTube and find a video that you want to put on your website
- Click on 'Share'
- Click on 'Embed'
- Copy the code snippet (it's an IFRAME element)
- Past the code snippet into your HTML document